Monday, June 11, 2012

CUSTOMIZED PHOTO FRAME


Hi friends…

I had bought a photo frame from IKEA when I had gone to my sister’s place… I thought I will decorate it this week.. 


I took some colored stones which was already there in my collection.


At first I colored it with the color of my stone…Otherwise there is a chance for the frame patches to be visible after fixing the stone. The color used is poster color.


 After that I started sticking the stones . As usual I used fevicol for sticking this… 

Finished frame

I got 2 more frames like this… Will try some different shades on them and post. Wish a store like IKEA was there in India too…

Keep smiling :)
Pin It

Tuesday, June 5, 2012

DIY-MAKE A BANGLE BOX FROM A SHOE BOX


You might be wondering how can anyone make a bangle box from a shoe box which we always throw away…

I love to make recycled craft… I have a huge collection of bangles and for a long time I was thinking about buying one. I ended up buying a big enough bangle box which was kind of compromise, b'coz I didn’t like the design/color. Recently when I was about to throw away my newly bought shoe box, I just thought I would keep it for some use later and today this is how it looks like :) 

 
Isn’t it a good recycling idea…

 It’s very easy to make. The materials which I used are Shoe box, Aluminum foil rod to hang my bangles, Any glue which sticks cloth to cardboard (here I have used fevicol), cloth to cover your shoebox ( I used my old salwar which is still in good condition, but I don’t fit in any more b’coz of a few extra pounds that I gained all these years) You can also use colorful paper to cover your shoe box…


At first you have to measure the width of your shoe box and cut the aluminum foil rod with 2 inches more than the actual width… Here I made 3 such rods.Now draw the circles on the box which you will have to cut out to it in the rods.


Once this is done u can start covering the box all over with the cut pieces of cloth that you have. You can give a different color covering for the rods, just for a contrast and the rods would stand out.


Since the rods protrude out from both sides, you will have to trim the top cover of the box so that it fits in easily. Cover the lid also with some interesting shades and then there you are with you new found homemade bangle box!!


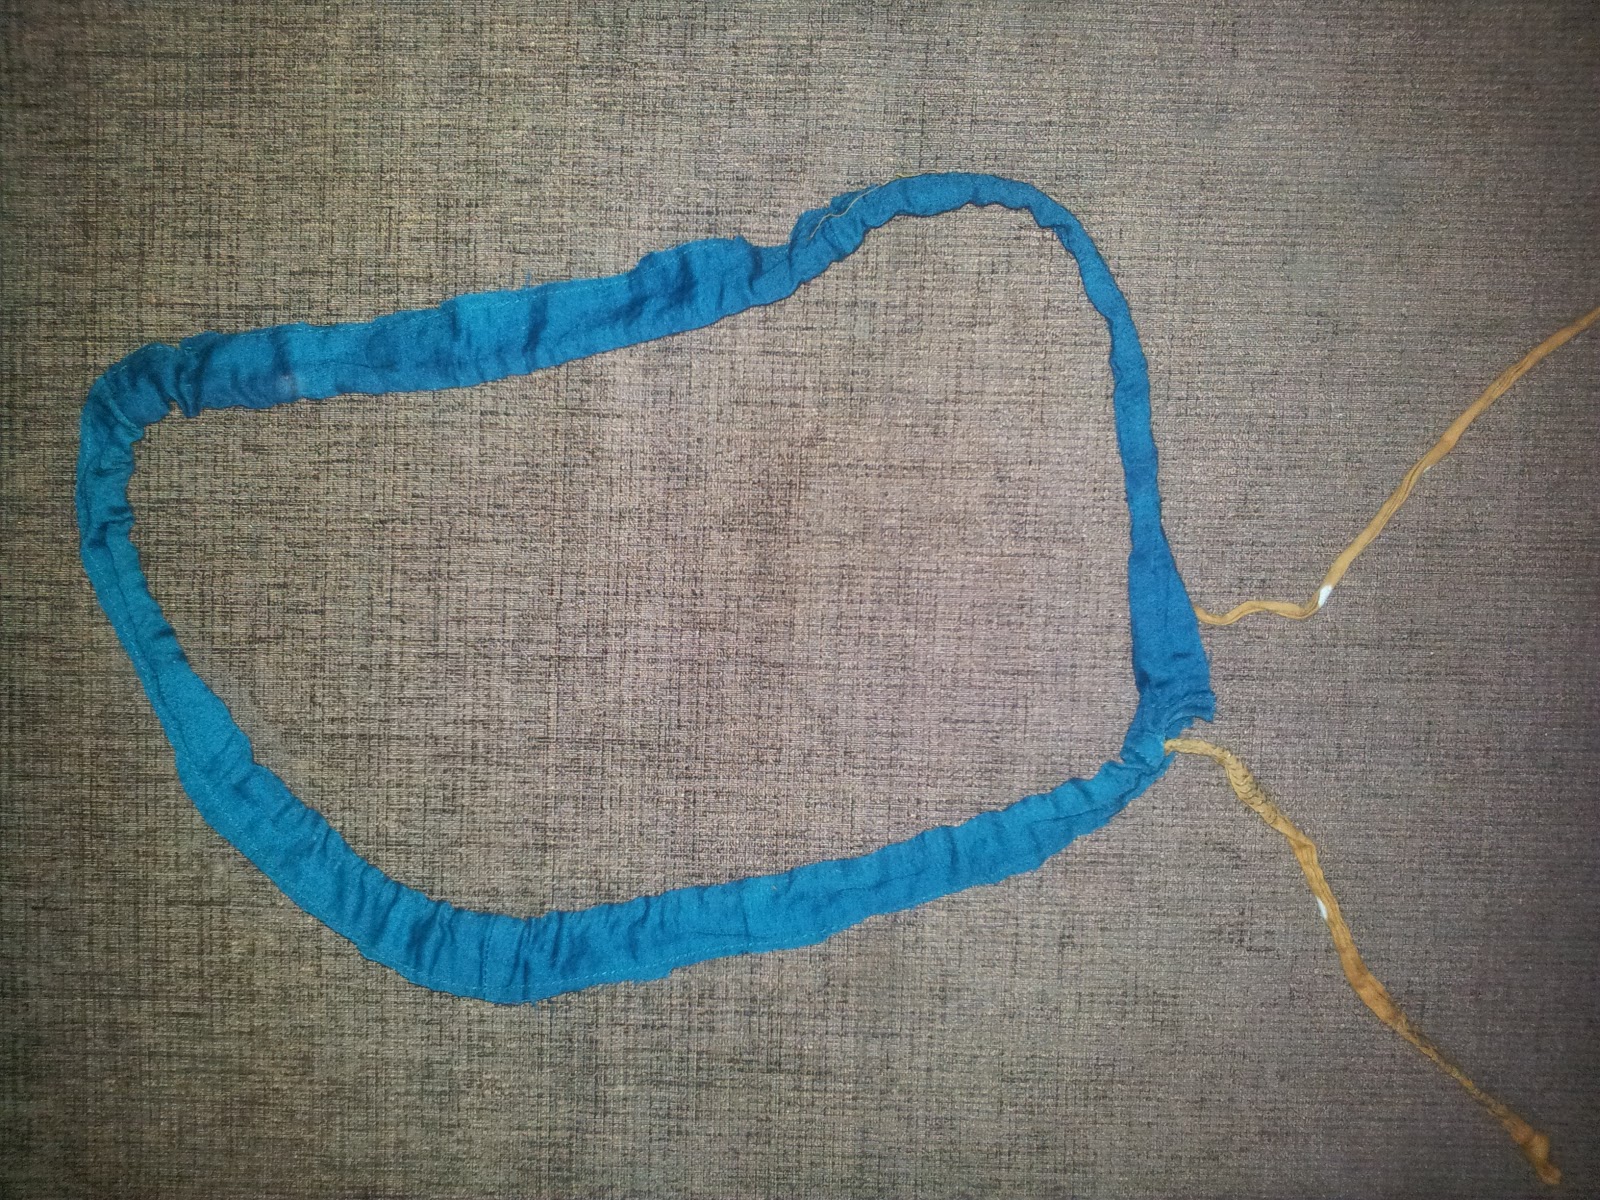
To top it up I just gave it a cute handle kind of stuff for ease of handling. Even this has a story behind it. When I cut the lower( Pajama) of my salwar I made sure that I cut the sling part intact along with the stitching so that I could just squeeze it into a flower/handle kind of stuff and then tie it onto the lid for the final touch. : P


This is how it looks finally


I have also made a bangle hanger to hang your bangles.. You can view it by clicking here DIY- BANGLE HANGER

Thanks for reading...

:)  Keep smiling
Pin It

Monday, May 28, 2012

MADHUBANI PAINTING


Madhubani painting  or Mithila painting is a style of Indian painting practiced in the Mithila region of Bihar state… I came to know about this painting from Dilli haat , New delhi , where people from various places in India display there traditional crafts…  I really loved those paintings. Out of curiosity I got trained in Madhubani paintings for almost three months…

These paintings are inspired from  birds ,animals, nature and Indian Gods.


They are done in cream color hand made sheets .  Natural colors are used for this type of paintings… But since it is not available I used acrylic paints… The main aspect of these paintings are that the designs are outlined with black lining and even the interior of the deigns are kind of hatched…

I also did some paintings inspired from Madhubani


I love trees 


My first painting... 

 Don't forget to give your valuable feedback

Keep smiling :)

Pin It

Monday, May 21, 2012

NAVDHANYA GANPATHY


Hi today I am going to introduce a new art work  – Navdhanya art.  As the name suggests  nine grains  called navadhanyam are used to make designs of gods and is dedicated to navagraha. Each grain/pulses has its own significance. I was really impressed by the works that I saw and thought of trying it out.


The nine dhanya’s are Wheat, Rice, Toor Daal, Moong Daal, Chana Daal, White Rajma, Black Sesame, Urad Dal (whole) & Horse Gram. Since all the nine dhanya’s were not available with me I have tried to do this with whatever grains available. The items used by me are shown in the picture below.


Color your cardboard first with your favorite acrylic color. Here I have used red color. Usually this work is done in designs of gods. But you can try your own designs. 

Once the design is fixed trace it on a cardboard. Then start sticking the border first( u can use fevicol).  Once it is dried fill the other parts with different grains you like. You might be thinking how I stuck those small grains, it’s the safety pin that helped me out. Dip the tip of the pin in fevicol and then pick each grain and then place it on the layer of fevicol that u had applied on the design.


Once its completed you need to apply wood coats over it to protect it from insects/moths. Use a small brush while applying it in the design otherwise there is a chance of air bubbles getting in between. This will give a glossy finish to the work.

 Final work will look like this.


I have given it for framing. Will upload the picture once it is framed.

TIPS

 When you are doing it for the first time select a small design. 
To remove the varnish from your brush keep it in a bowl with turpentine after your work.. Clean it after some time with water


:) Keep smiling


Pin It