Showing posts with label jewelry. Show all posts

Wednesday, October 3, 2012

DIY- HOW TO MAKE SIMPLE EARRINGS


I am so crazy about jewelry. I have pretty good collection of bangles and earrings , but I love to watch them in my jewelry box rather than wearing them… Isn’t it crazy!!  I used to make simple chains and stud earrings for my mom when I was in high school. But recently I have started making earrings and bangles to match with my outfits.


Today I thought I will show you how to make a simple pair of earrings

Things you need
 2 head pins
 2 earring hook
 Beads
 Plier..


Now pile your bead on a headpin as shown in the pic.. the length of the headpin should be1cm above the bead..cut off the excess length using wire cutter… 


Now with the help of plier make a loop on the headpin …


Before tightening the loop attach the earring hook to it… 
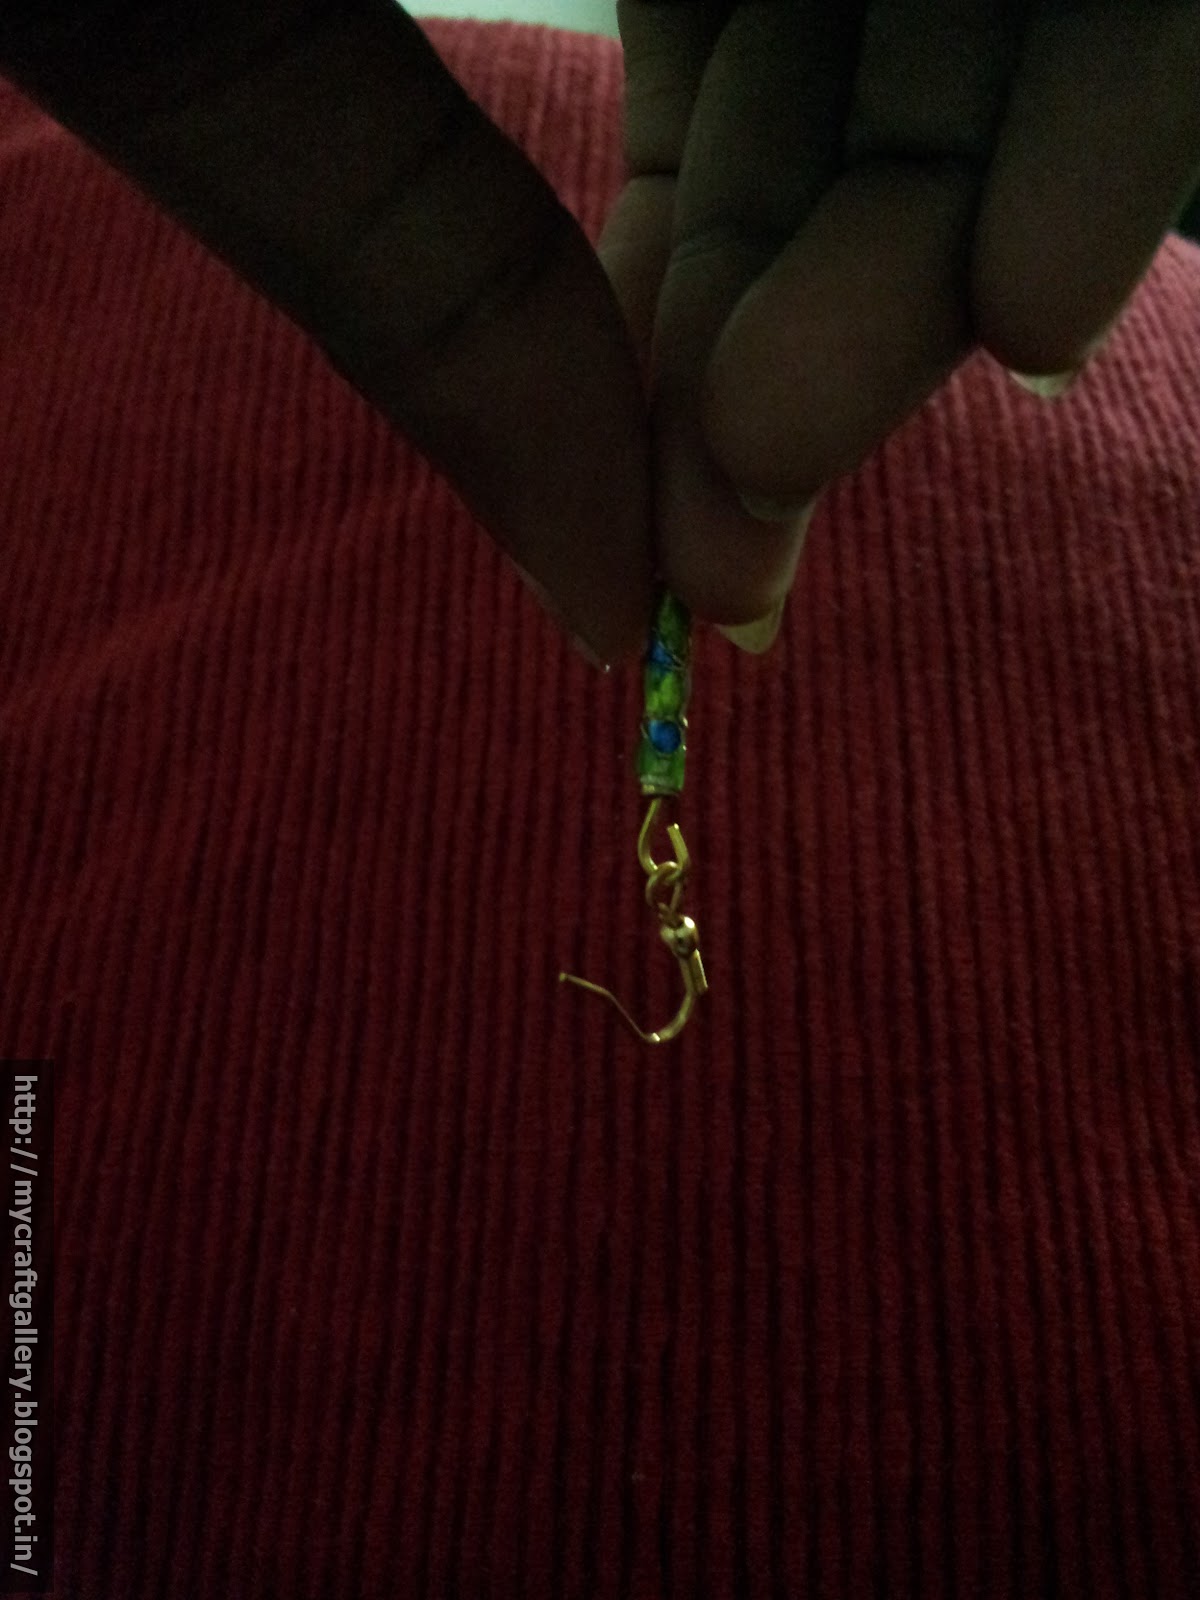


Follow these steps and make another one like this…


I made one more earring  like this

  
Isn't it simple!!!  Hope you have enjoyed reading this
You can view my crystal layered neckpiece by clicking  here

keepsmiling 
:)
Pin It

Wednesday, August 22, 2012

DIY - BANGLE HANGER


You might have seen a bangle box which I have made before ( link )… This week I have made something to hang your bangles… 


This is made with simple cloth hanger. You also need something to wrap the hanger, here I have used jute rope for wrapping, you can also use colorful wool/cloth.


At First open the hanger joint as shown in the picture below. My husband did this for me :) Sometimes it is good to task your husbands.…


 Now tie one end of the jute rope to the the hanger…Apply some fevicol and start wrapping it to the whole hanger as shown.( Don’t forget to apply fevicol in between)…


Since I’m using jute rope I left some place in the joining place. Otherwise it will be difficult for me to hook it back. If you are using a wool you can wrap full hanger. Later I colored the left over place with some golden color.

How will the project be complete without hanging bangles on it !!!


You can even hang your chains in this… Now your wardrobe will look more colorful than before..  Hope you all will try this. May be you can make it more colorful by coloring the jute rope, Since I like the raw look I didn’t go for it.

Keep smiling
:)
Pin It

Tuesday, August 14, 2012

DIY- BANGLES

Hey I’ve come up with a stylish bangle idea this week… You might have seen bangles which are wrapped with threads and has become a trend now. I have made something similar to that but not with thread but with wool… Yes the wool which we use to make sweaters.


 You only need some old bangles which you were planning to throw away, any color wool, and a glue ( fevicol) … 


Clean your bangle before use. Leave half inch of wool at the beginning and tie a knot on the bangle. Apply glue to a small area of bangle and start wrapping the whole bangle with wool, wrap it tightly without any gap. Make sure that you apply glue to the bangle before wrapping. When it reaches the starting place again, wrap the bangle with the half inch piece of wool that you have left earlier. Tie a knot at the end and glue it… 


 After making with a single color I thought of making bangles with two colors….
To make it bigger than the other I stuck two bangles together and started wrapping two colors at the same time as shown in the pic…


 Its very easy and took hardly one hour to complete , Isn't it easy to make matching bangles for your cool outfit now???

Try it out and don’t forget to send me your valuable feed backs..

keep smiling 
:)
Pin It
Tuesday, June 5, 2012

DIY-MAKE A BANGLE BOX FROM A SHOE BOX


You might be wondering how can anyone make a bangle box from a shoe box which we always throw away…

I love to make recycled craft… I have a huge collection of bangles and for a long time I was thinking about buying one. I ended up buying a big enough bangle box which was kind of compromise, b'coz I didn’t like the design/color. Recently when I was about to throw away my newly bought shoe box, I just thought I would keep it for some use later and today this is how it looks like :) 

 
Isn’t it a good recycling idea…

 It’s very easy to make. The materials which I used are Shoe box, Aluminum foil rod to hang my bangles, Any glue which sticks cloth to cardboard (here I have used fevicol), cloth to cover your shoebox ( I used my old salwar which is still in good condition, but I don’t fit in any more b’coz of a few extra pounds that I gained all these years) You can also use colorful paper to cover your shoe box…


At first you have to measure the width of your shoe box and cut the aluminum foil rod with 2 inches more than the actual width… Here I made 3 such rods.Now draw the circles on the box which you will have to cut out to it in the rods.


Once this is done u can start covering the box all over with the cut pieces of cloth that you have. You can give a different color covering for the rods, just for a contrast and the rods would stand out.


Since the rods protrude out from both sides, you will have to trim the top cover of the box so that it fits in easily. Cover the lid also with some interesting shades and then there you are with you new found homemade bangle box!!


To top it up I just gave it a cute handle kind of stuff for ease of handling. Even this has a story behind it. When I cut the lower( Pajama) of my salwar I made sure that I cut the sling part intact along with the stitching so that I could just squeeze it into a flower/handle kind of stuff and then tie it onto the lid for the final touch. : P


This is how it looks finally


I have also made a bangle hanger to hang your bangles.. You can view it by clicking here DIY- BANGLE HANGER

Thanks for reading...

:)  Keep smiling
Pin It

Sunday, May 6, 2012

LAYERED NECK PIECE


Other than making these decorative items I also have a crush on jewellery making.  I am not a professional in this, but I love making simple earrings, chains and bracelets. But the problem is I can’t find any shop to buy the raw materials which I need for this, in Delhi. 


You all might have seen layered neck piece. I was planning to buy one of them. But then I thought why cant I make a neck piece like that. Last time when I had gone to my native place I had bought some crystals for this purpose.


It’s not difficult to make a jewelry. To make a simple neck piece you don’t need to join a class. Make it like you want. You need only patience. i.e. if it’s going wrong you should have the patience to remove it and do it all over again from beginning. Since this is my first layered neck piece I had to rework some 10-15 times. The design is simple and was what came to my mind at the first instance.

 Items used for making the above neck piece is shown in the pic below


Will be coming up with something new next time. Will try to upload new jewelry when I get enough materials. Thanks for reading...

:)
Pin It